This recipe is from my first cookbook, Puerto Rican Cuisine in America (Hachete Books). It could be considered the Puerto Rican version of Osso Buco. Only difference is that Osso Buco is braised lamb shanks. We use regular lamb shanks; then the shanks are browned and simmered. The usual first step in Osso Buco is to dust the shanks with flour and then brown. The final step is the same: slow cooking until done. Now, no one says you can’t braise the lamb in flour, as in the Italian version. My mother would cook them both ways. Just that it’s easier in the Caribbean version.
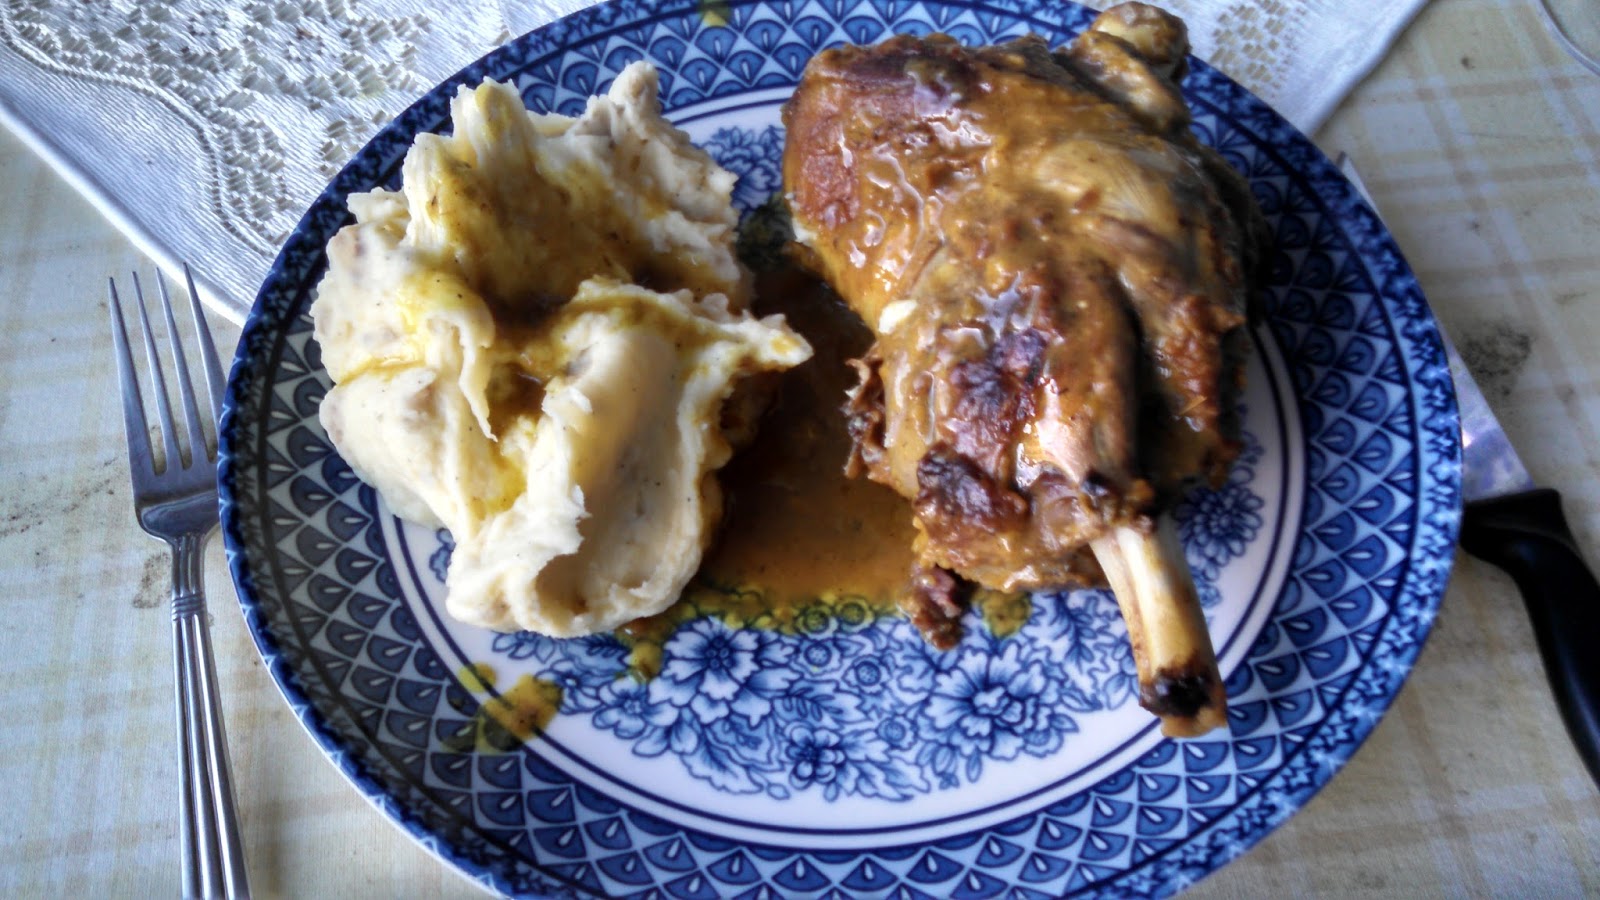
The dish is normally served with yellow rice and pigeon peas (arroz con gandules – see post of 12/01/14 for a pretty good recipe). This time around I served it with the old standby, mashed potatoes.
MUSLO CORNERO A LA CARIBE
(Lamb Shanks Caribbean Style)
4 lamb shanks (about 3 1/2 pounds)
Juice of 1 whole lemon
Salt and ground black pepper to taste
1/2 cup olive oil
1 8-ounce can tomato sauce
1 medium onion, peeled and finely chopped
2 cloves garlic, peeled and crushed
2 tablespoons fresh chopped oregano, or 1 teaspoon dried
1 teaspoon chopped fresh cilantro
2 bay leaves
1, Rinse lamb shanks and pat dry with paper towels.
2. Sprinkle with lemon juice. Season with salt and pepper
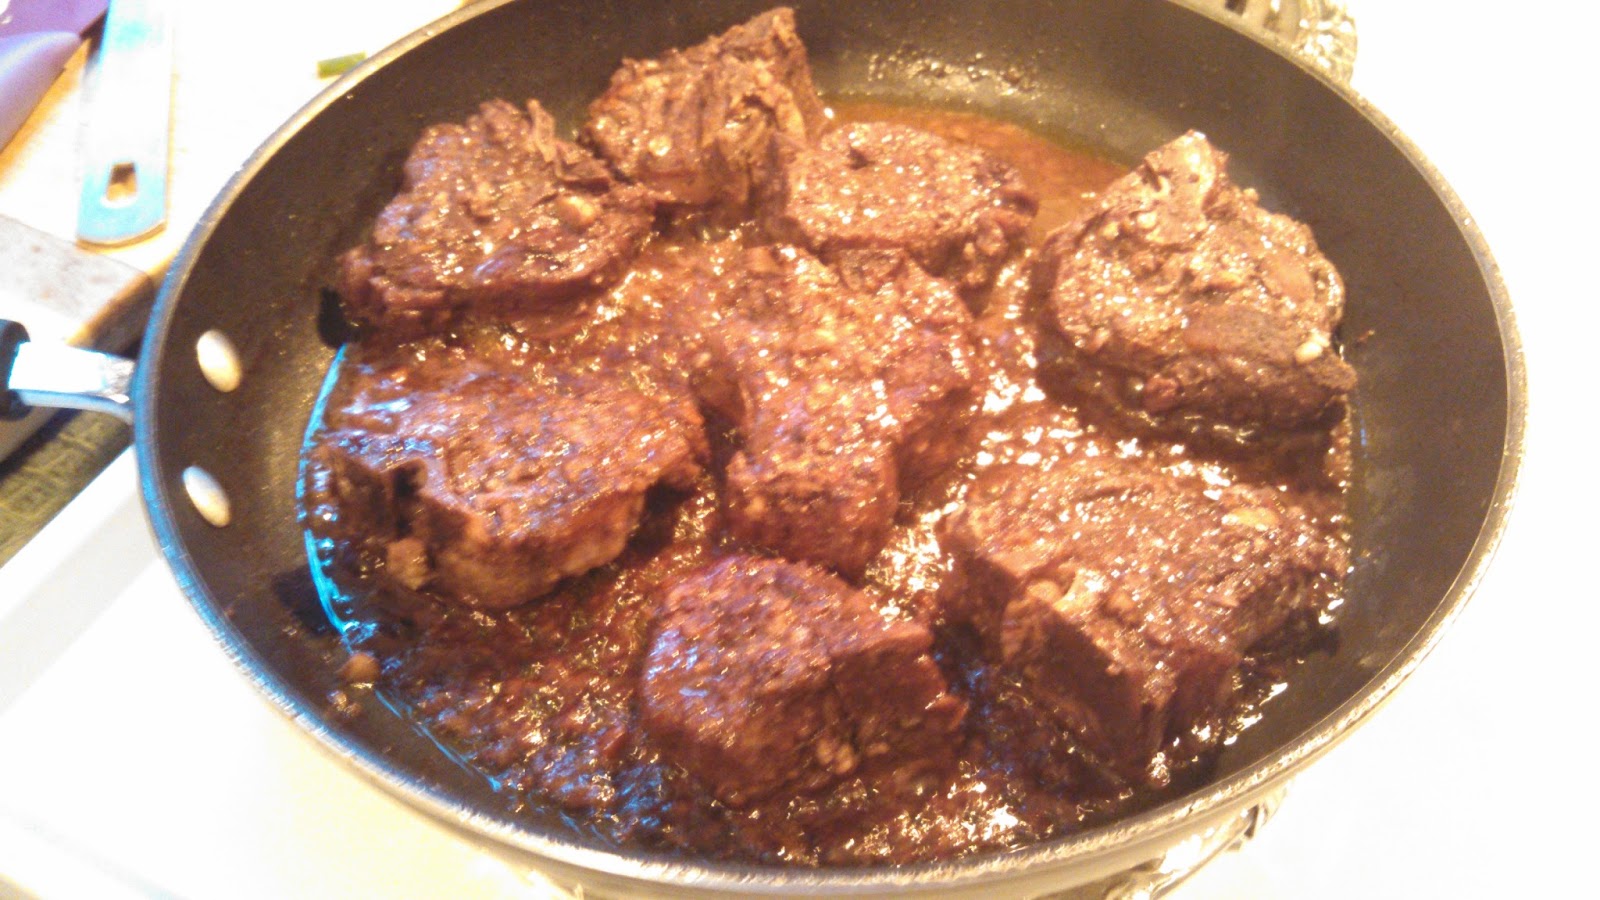
3. Heat olive oil in a heavy kettle or Dutch oven. Add lamb shanks and brown evenly over moderate-low heat.
4. Add tomatoes sauce, onion, garlic, oregano, cilantro, and bay leaves.
5. Cover and simmer on low heat until tender (1 hour). Remove bay leaves and serve.
Yield: 4 servings.