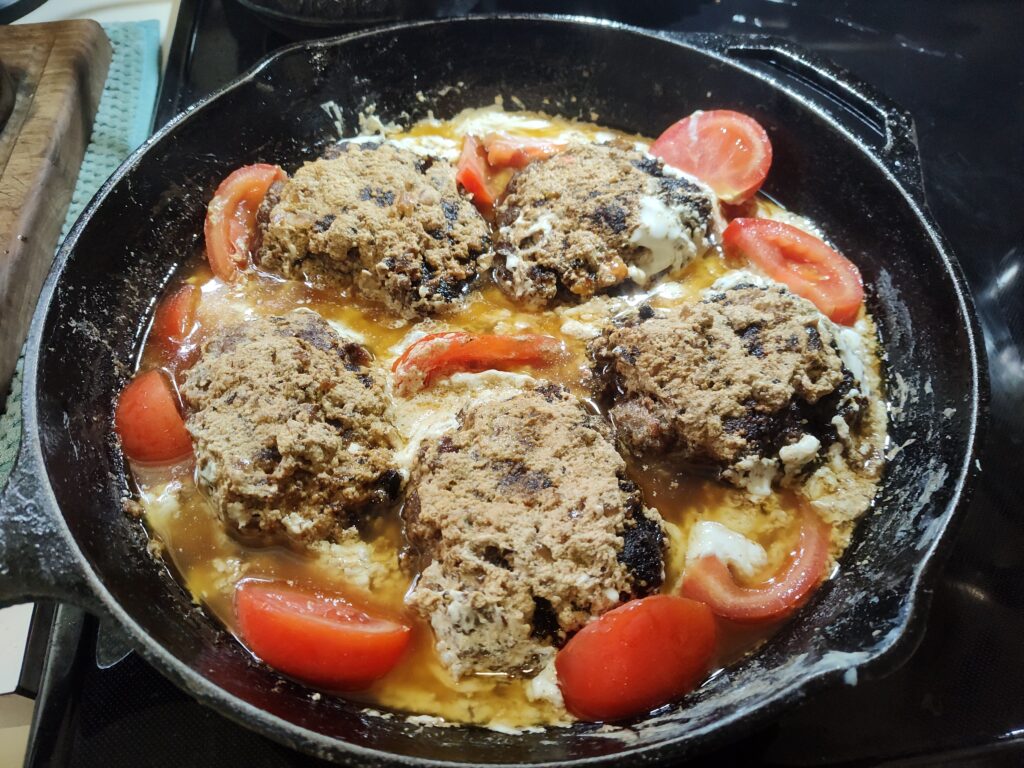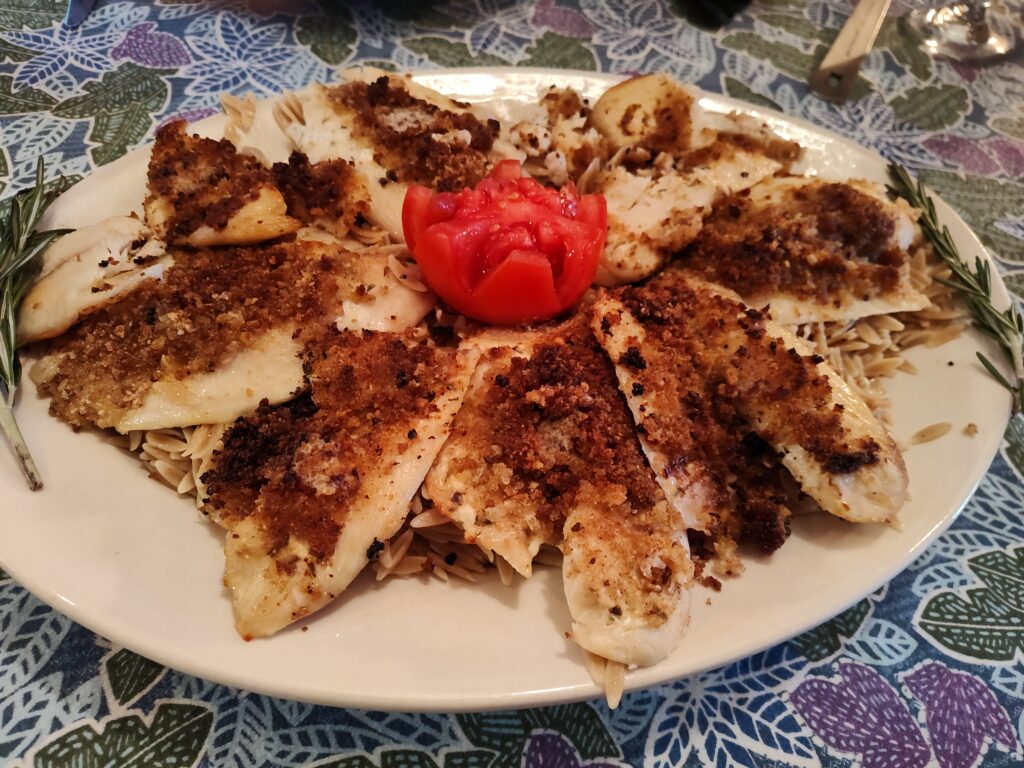
One of the most famous restaurants in American history is Delmonico’s, which gained its fame during the so-called Gilded Age (from about the late 1870s to the late 1890s). At that time, Delmonico’s was and is a place where the rich and the famous came to dine and be seen. By the way, it is still around at its historic location at 56 Beaver Street (at the corner of Beaver and William streets). During the 1880’s its head chef was Charles Ranhofer, who created several famous dishes. Among these are Lobster Newberg, Eggs benedict and the Delmonico Steak (a thick cut of ribeye). Yet one of the unique dishes in the April 1899 Delmoinico’s menu held by the New York Public Library is ‘Chicken Mayonnaise.’ When you come to think of it, it’s a great combo: chicken breasts lathered with mayo then baked. Nothing could be simpler or more satisfying. A rich, delicious entrée.
The recipe itself is simple enough, but I tweaked it since my purview is Puerto Rican cuisine. I omitted the cheese (either Parmesan or cheddar) that is usually listed in the recipe and instead added sazón (or sasón), an ingredient popular in Puerto Rican and Latino cuisine. Goya products make a pretty good version as does Sa-són Ac’cent and Bodega Badia. It usually comes in 0.17-ounce packets If you don’t have or cannot find sazôn, you can substitute a ¼ teaspoon of turmeric. Also, in some recipes the chicken is pounded with a mallet between two sheets of plastic wrap to flatten them. I do not flatten the chicken breasts. Instead, I slice them in half lengthwise and then bake. Which means you have four servings using two breasts. Or eight servings using four chicken breasts. Your choice, depending on how many people you’re feeding at a given time.
Let me add, for the record, that I came across this historical tidbit from the Winter edition of Repast Magazine, a quarterly publication of the Culinary Historians of Ann Arbor (https//culinaryhistoriansannarbor.org). They are a wonderful organization that record almost anything and everything that has to do with fine food.
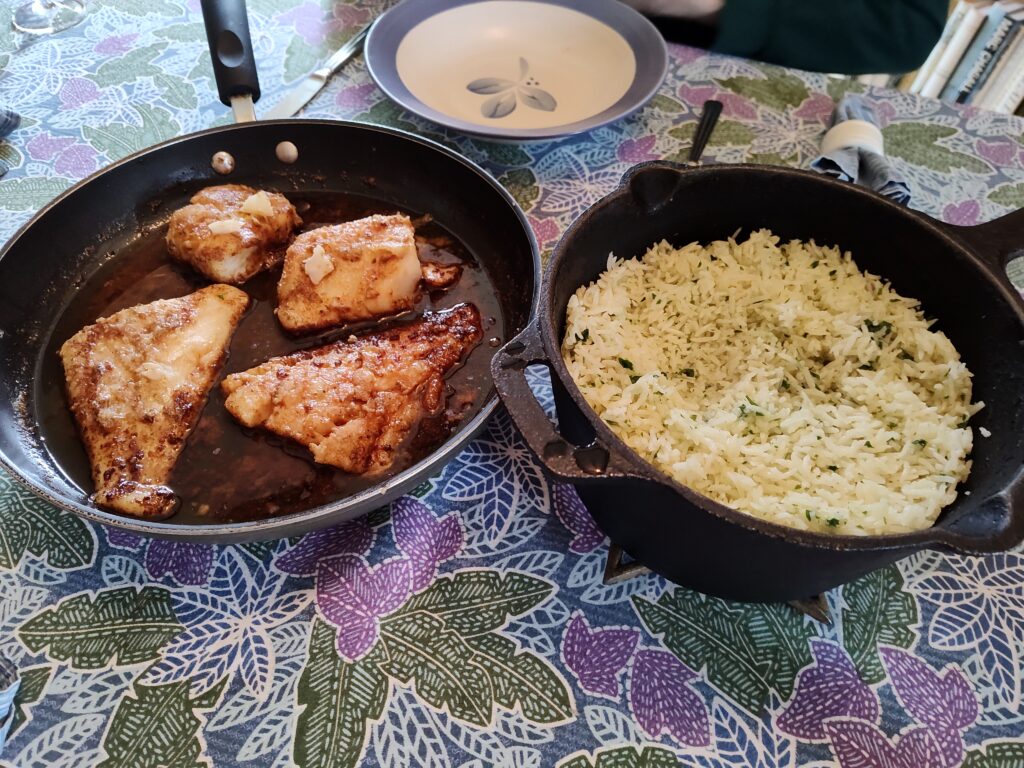
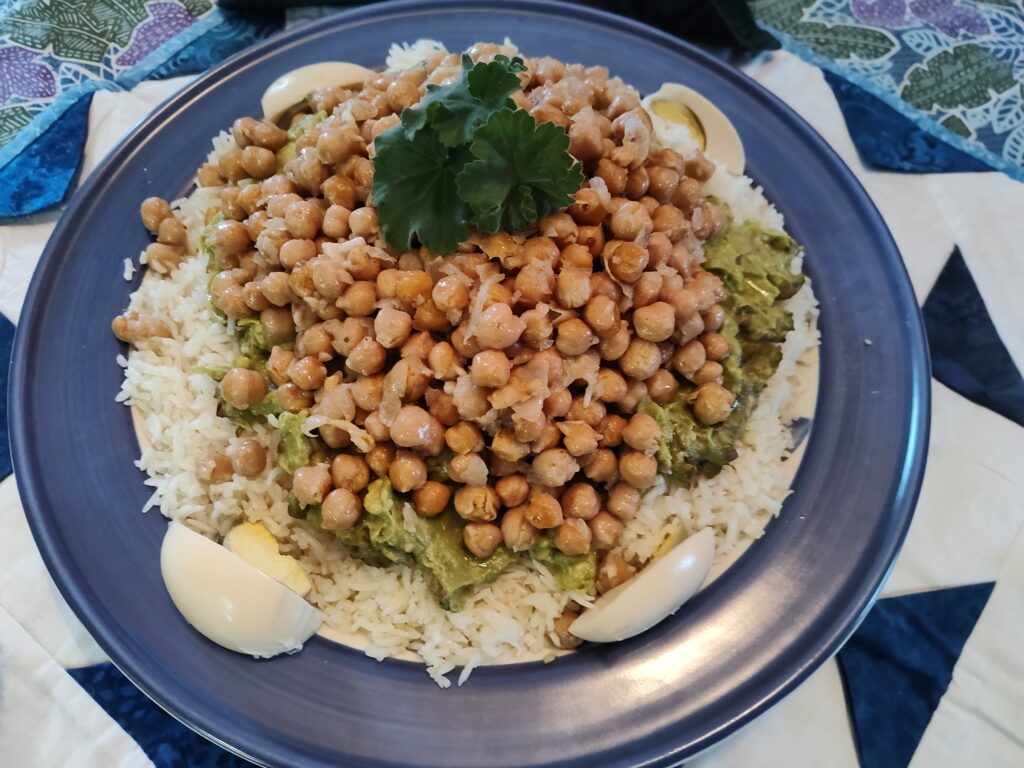
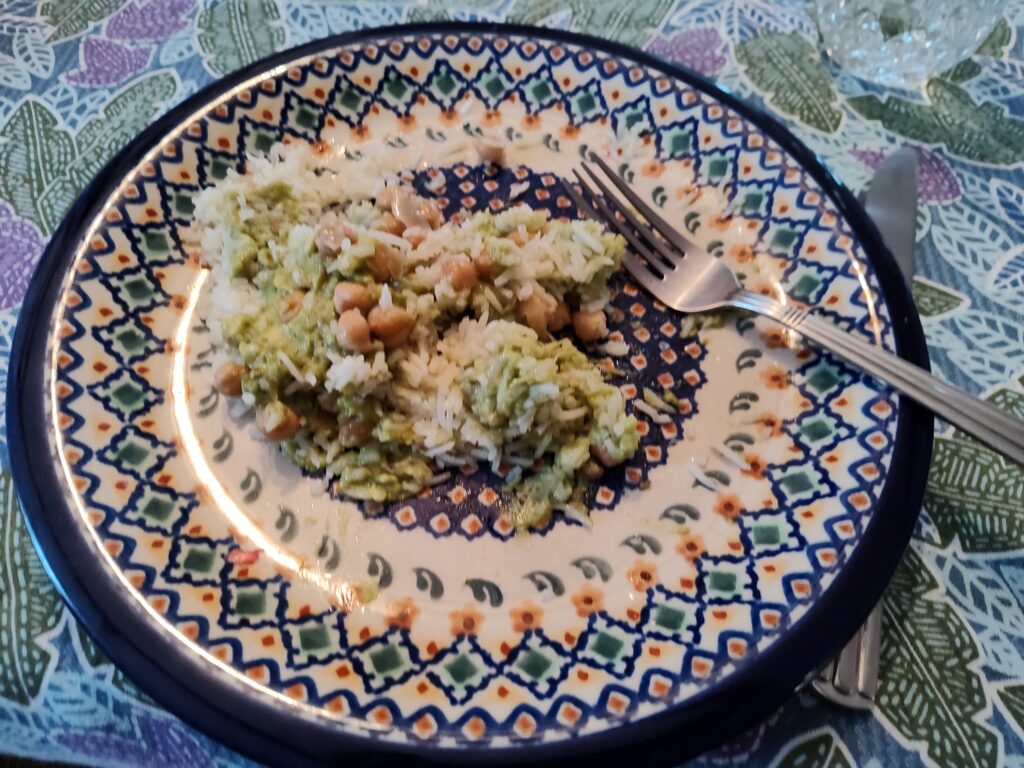
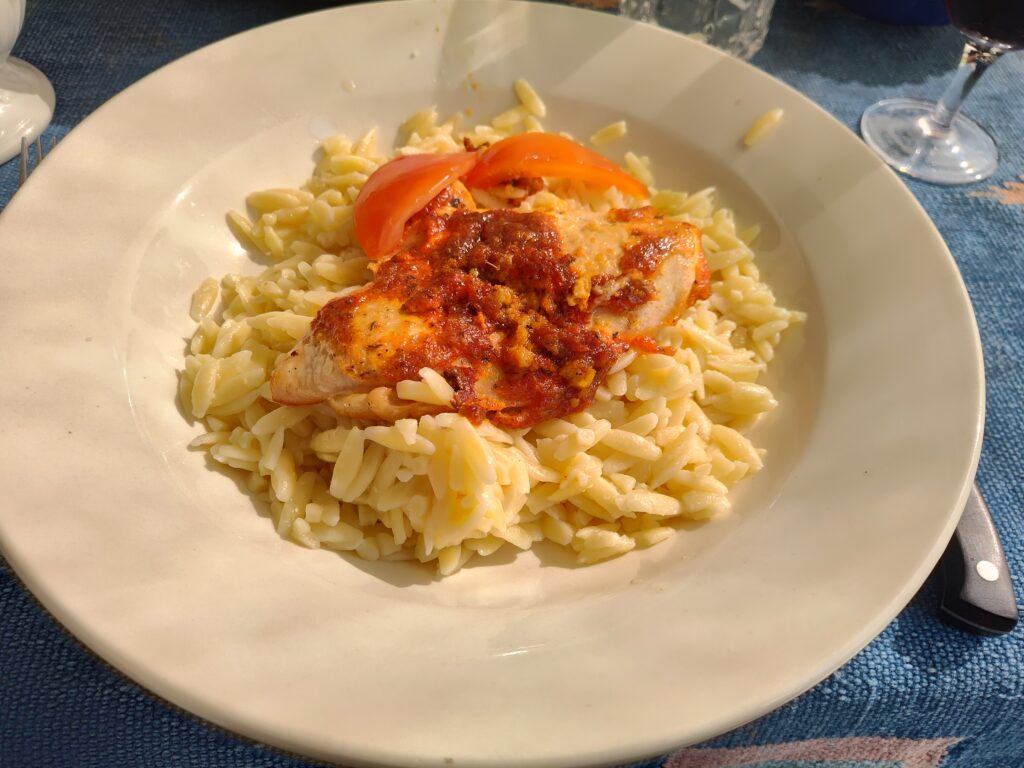
So, enjoy this recipe. I served it with orzo, a small pasta that resembles a large shape of rice. If you prefer rice, then go with that. Or you can substitute any favorite grain such as quinoa, millet or couscous. Have fun.
MAYONNAISE CHICKEN (Nuyorican version)
Ingredients:
4 (4-oz) boneless, skinless chicken breasts
1 teaspoon garlic powder
1 teaspoon Italian seasoning
¼ teaspoon black pepper or to taste
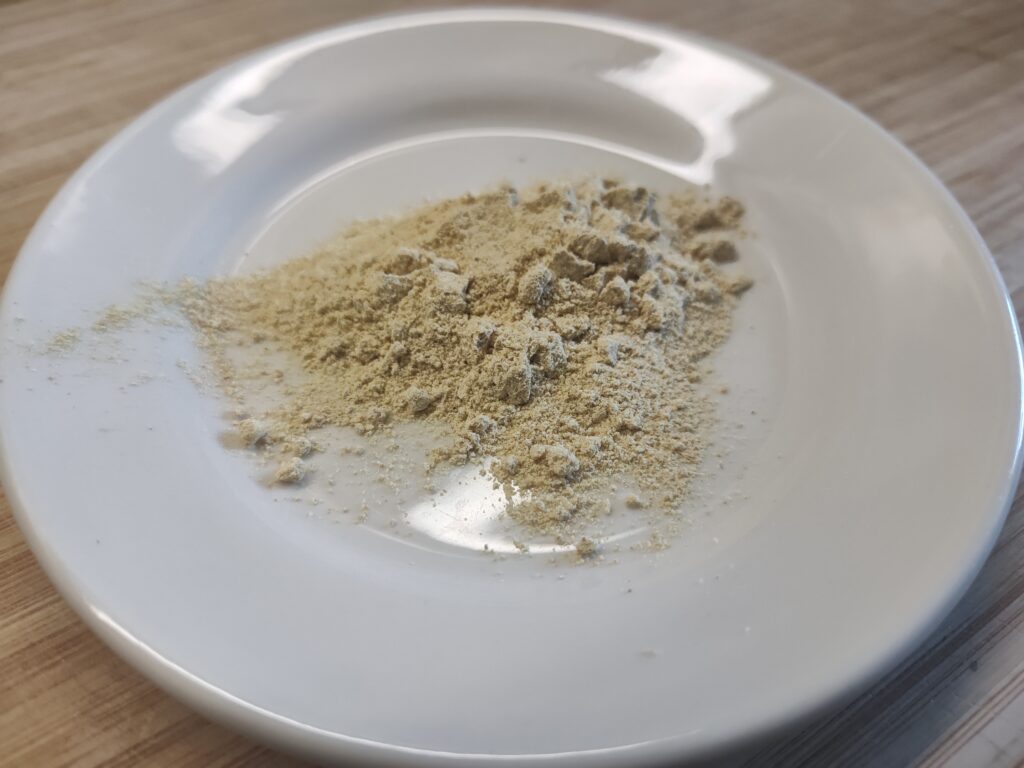
1 packet sazôn seasoning
Instructions:
- Preheat oven to 425 degrees F.
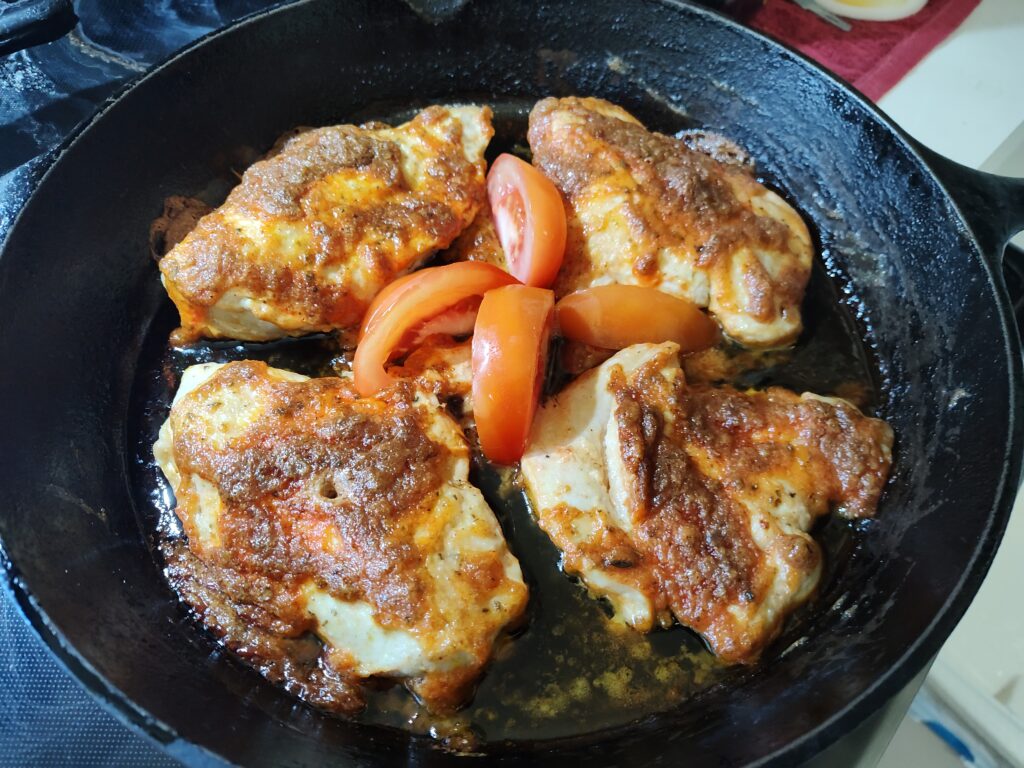
- Rinse chicken breasts under cold running water and pat dry with paper towels. Place them in a lightly greased baking dish (we prefer cast-iron)
- In a small bowl, combine the mayonnaise, garlic powder, Italian seasoning, black pepper and sazón.
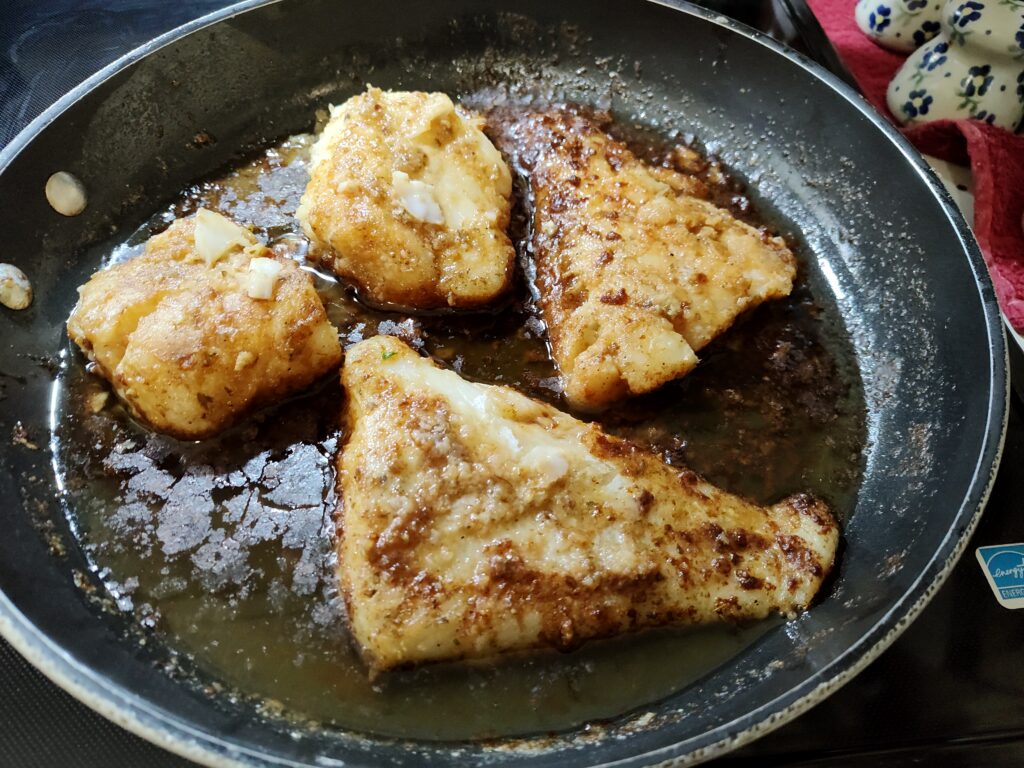
- Spread the mayonnaise mixture evenly over the top of each chicken breast.
- Bake for 20-30 minutes, or until an instant-read thermometer inserted in the center of a breast reads 165 degrees F.
Yield: 6-8 servings (see above).