This recipe is a contribution from our beloved Uncle Phillip. In our family, Uncle Phillip was the black sheep, and he was bigger than life. A von vivant, ladies’ man, and raconteur extraordinaire. And also a fabulous cook. Uncle Phillip was a merchant seaman, and he was a cook aboard ship. That’s how he learned about cuisine. He was always on the lookout for unique recipes. Yet, like Puerto Ricans of the old school, he had this thing about Spain. To the Boricuas of his and my parents generation, Spain was the “Mother Country.” Figures since Spain owned Puerto Rico for hundreds of years before the coming of the Americans in 1898. So anything having to do with Spain, was sacrosanct, especially its cuisine. For instance, to this day, the measurement of any restaurant in Puerto Rico is not its paella or pasteles but caldo gallego, a smooth, vigorous soup.
Galicia is a maritime province in Northern Spain, thus the Gallego appellation, as in the chicken dish given below. We assumed that’s where Uncle Phillip picked up the recipe, and it has remained a favorite in our family for ages. What’s interesting about this recipe is that originally it was prepared with bone-in chicken breasts. After the chicken breasts were roasted, the meat was removed from the bone. That’s how Uncle Phillip did it. I’ve discovered that whole, boneless chicken breasts work just as well, are easier to prepare, and are just as tasty.
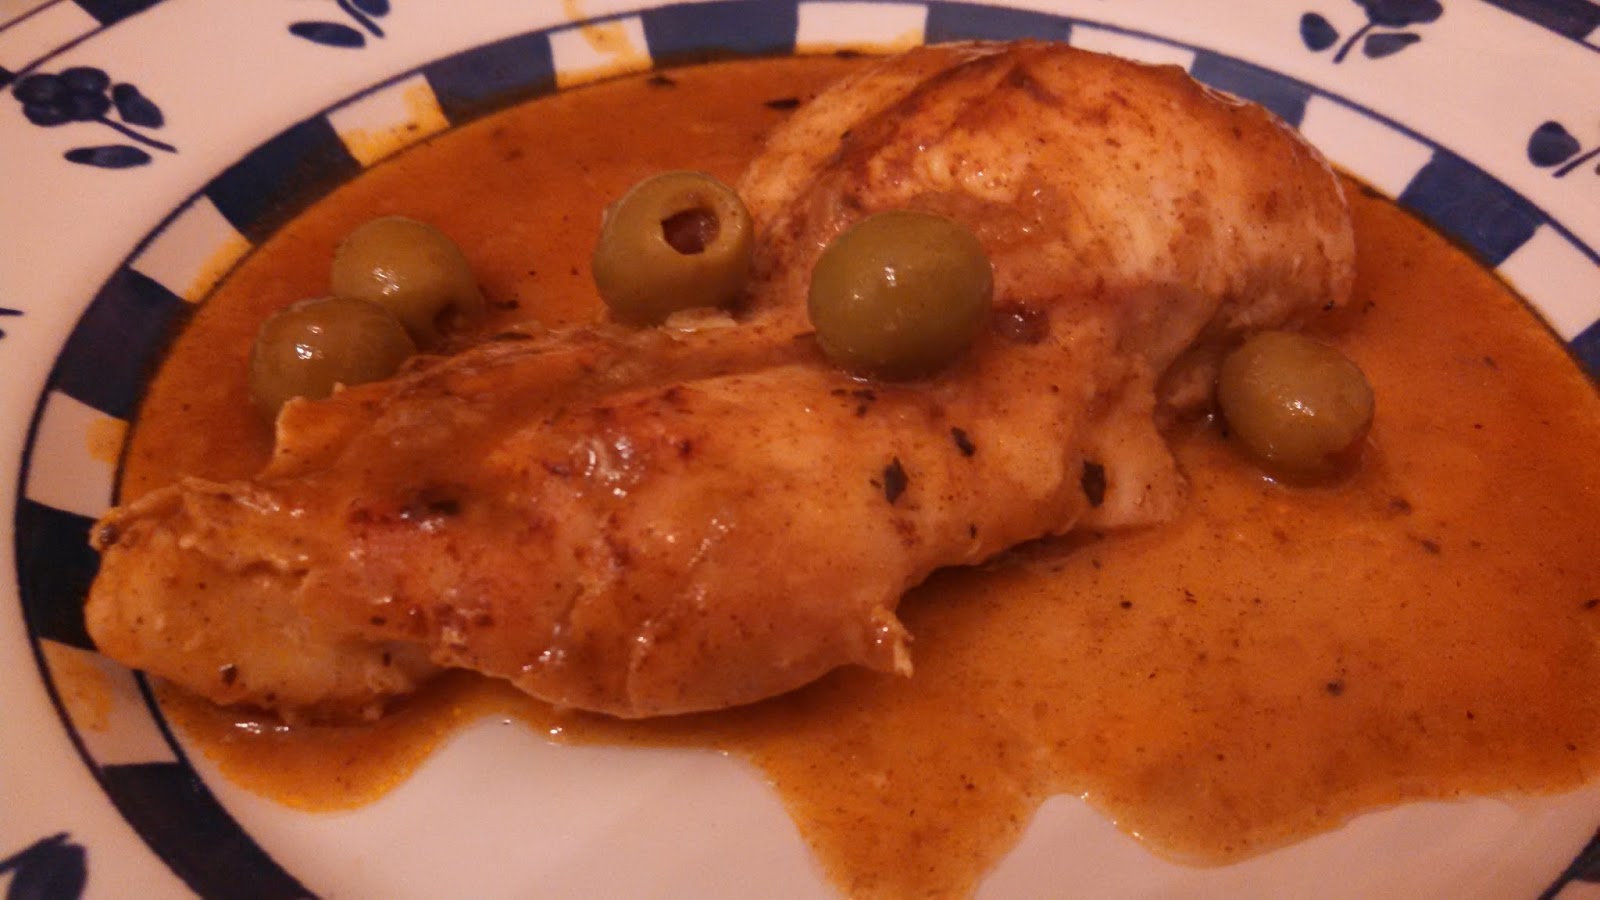
Here it is. For dinner tonight take a trip to the Iberian peninsula. In our family, the dish was traditionally served over steamed rice. But it can also complement any other grain, potatoes, or even pasta. The dish calls for paprika. I prefer Hungarian paprika which is medium-hot. Uncle Phillip preferred the milder Spanish paprika. Use whatever suits you best. With a good Rioja wine, the dish is heaven.
POLLO AL GALLEGO
(Galician Style Chicken)
3 pounds whole chicken breasts
2 teaspoons paprika
2 tablespoons olive oil
4 cloves garlic, peeled and minced
1 bay leaf
Pinch of cayenne pepper (about 1/8 teaspoon)
1 1/2 tablespoons flour
1/2 teaspoon salt
1/2 cup chicken broth or bouillon
8 pimento stuffed Spanish olives for garnish
1. Preheat oven to 450 degrees F.
2. Wash chicken breasts under cold running water and pat dry with paper towels. Cut each breast in half lengthwise.
3. Sprinkle chicken with 1/2 teaspoon paprika. Place in a shallow roasting pan and bake approximately 25 minutes or until golden brown.
4. Meanwhile, in a small pan or skillet, heat olive oil. Add garlic and bay leaf. Sauté until garlic turns brown (do not burn). Add remaining paprika, cayenne pepper, flour and salt. Mix well and slowly add chicken bouillon or broth. Bring to a boil, gently stirring to prevent lumps. Reduce heat to low and simmer, stirring constantly. When the sauce is done, remove bay leaf.
5. Arrange breasts on a serving platter and pour sauce over chicken. Garnish with olives, either whole or sliced in half, and serve.
Yield: 4 or more servings.