Kung Pao chicken is one of those dishes that has filtered into western cuisine during the last generation or so. When I was a kid and the family would trudge down to the Old Wah Kee restaurant in Chinatown, we would have all the traditional Chinese-American dishes (fried rice, chow mein, egg-drop soup, etc.) We never had Kung Pao chicken. That started popping up in later years, and it caught on because it was spicier that traditional Chinese fare. Kung Pao chicken (or Gong Bao, Kung Po) comes from Sichuan cooking that originated in Sichuan Province in southwest China. Sichuan cooking is noted for its use of Sichuan peppercorns, also known as Chinese coriander and used in Tibetan, Nepelese and Indian cuisine as well. The westernize version of the dish (which includes the recipe given) does not use Sichuan peppercorn since it was illegal to import then into the U.S. from 1968 to 2005. The ban solidified the western version and chili peppers are used instead. Also, in my recipe, I have substituted the sugar used in most versions with honey. My contribution to this venerable dish.
During the infamous Cultural Revolution in China (1966-1976), the dish was renamed “Fast-fried chicken cubes” or “Chicken cubes with seared chilies.” Why? The dish was supposedly named after a Quin Dynasty official, Ding Baozhen, and association with the Quin (1644-1912) was considered subversive or politically incorrect. Again, why? Well, psychotic mass murderer Mao Zedong decided to preserve “true Communist ideology” by purging all “bourgeois” elements and traditional “counter-revolutionary” thought from Chinese society. It set back China socially and economically for decades.
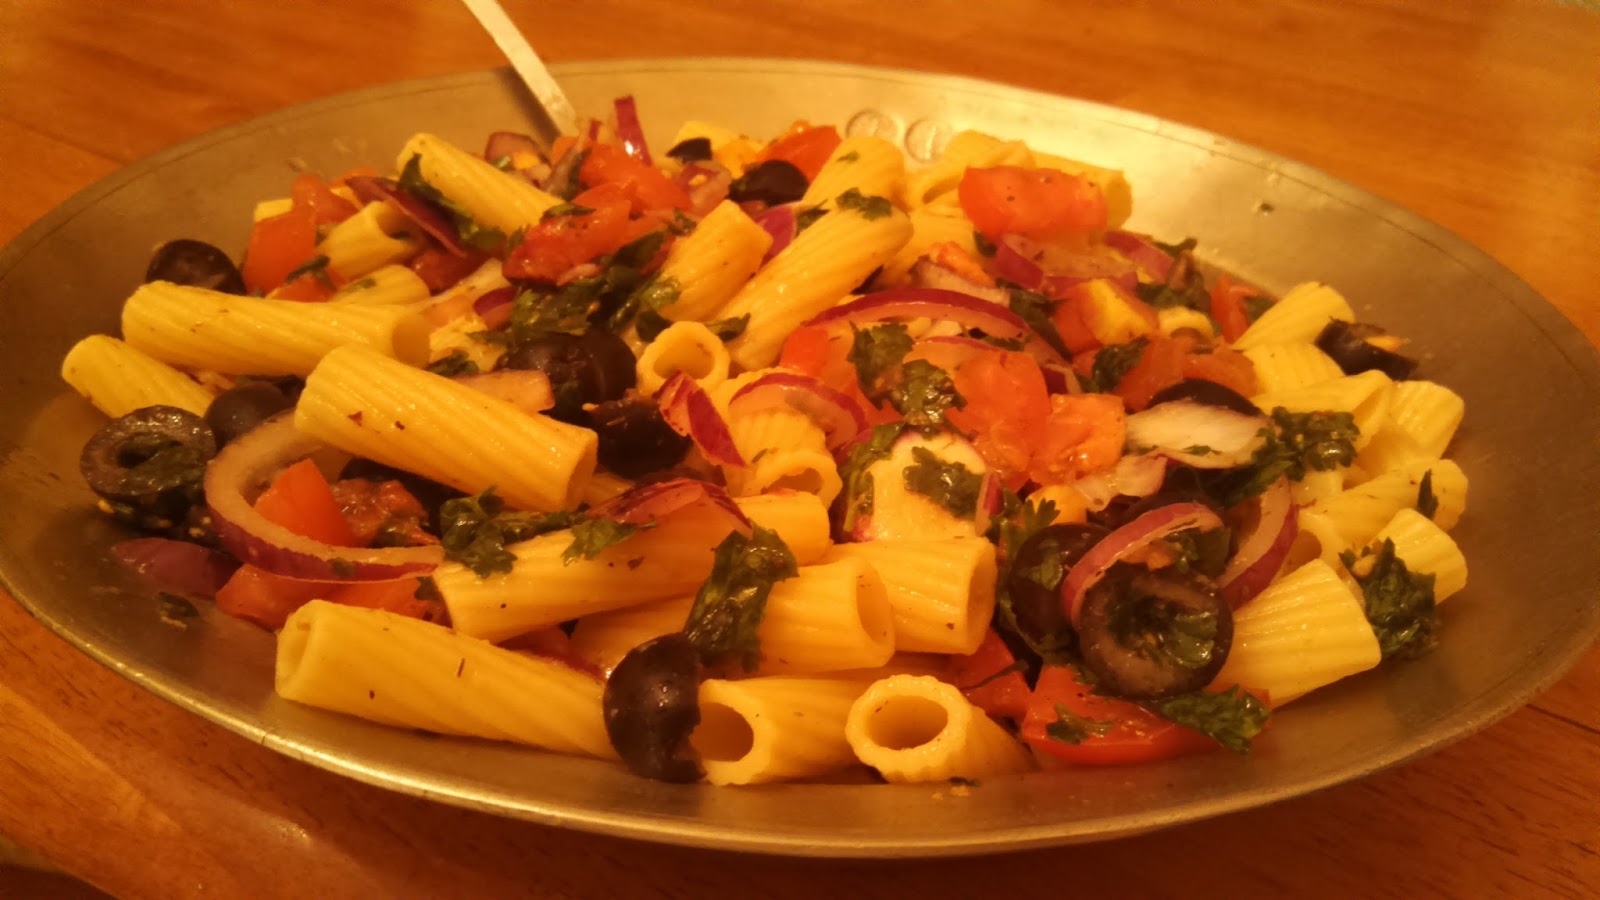
Ding Baozhen is an interesting character. Not only was he an official of the Quin government; but he had very bad teeth and he couldn’t chew meat that was tough or thick. So his personal chef prepared for him a meal consisting of finely chopped stir-fried chicken with lost of peppercorn in it. And the dish was born. Let me add that in my version, I serve it over whole wheat pasta rather than the traditional Chinese noodles. It doesn’t hurt to innovate.
KUNG PAO CHICKEN
2 pounds boneless, skinless chicken breasts, washed and cut into 1-inch cubes
2 large egg whites
1/2 teaspoon salt
3 tablespoons sesame oil
3 tablespoons cornstarch
5 tablespoons peanut oil
3 dried red chilies (or more if you want it spicier)
1 7.25 ounce bottle or can unsalted peanuts or mixed nuts
3 cloves garlic, peeled and finely minced
1/2 cup chopped fresh scallions
2 tablespoons chopped fresh ginger
1/3 cup chicken broth (canned is fine)
1/4 cup rice wine or dry sherry
4 tablesppons soy sauce
3 teaspoons honey
2 tablespoons Chinese black rice vinegar (available in most Asian stores)
1. In a medium bowl, mix chicken breasts, egg whites, salt, 1 tablespoon of the sesame oil, and 2 tablespoons of the cornstarch. Set aside.
2. In a small bowl, mix reaming tablespoon corn starch with 1/3 cup water. Set aside
3. Place a large pot or wok over high heat until hot, and add peanut oil. When oil is very hot, add chicken pieces and cook for 3 minutes. Add chilies and stir-fry until slightly blackened. Add peanuts, garlic, scallions and ginger, stirring until lightly browned.
4. Add chicken broth, rice wine, soy sauce, honey, vinegar and remaining tablespoon sesame oil. Mix well to combine, and stir in cornstarch mix. Stir-fry for 2 minutes. Reduce heat to low and let the mixture sit (uncovered) for about 2 minutes more. Mix again, and serve.
Yield: 4 or more servings.