Stuffed Cabbage, as we know it, has been around for a while. It was popular in Ancient Rome and Ancient Greece. It is part of the diet of Poles and Russians; and almost every country in Europe has some version of the dish. In Jewish cuisine its been around for 2,000 years and is traditionally served on the holiday Simchat Torah, or the annual celebration that concludes the public readings of the Torah (the first five books of the Jewish bible). Yet of all the stuffed cabbage dishes I have come across, my favorite is Danish stuffed cabbage. Whether it’s Danish or not is open to interpretation. Some Swedes claim they were the first to concoct the idea of stuffing a whole cabbage and not just the cabbage leaves. I love the dish because not only is it delicious but it makes a great presentation. And I discovered a long time ago that in good cooking the eye may be just as important as the taste.
Danish stuffed cabbage is also simple to make. It doesn’t normally include cooked rice as in most stuffed cabbage recipes. It doesn’t include tomatoes either; though in my version I add tomato paste to it—or you can skip it altogether. Like all such dishes, it can include ground veal, ground pork, ground beef or a combination thereof. I keep it simple and economical and use ground chuck, This is not a fancy dish, but if you want to use veal or a more expensive cut of meat, go right ahead. Note that traditionally this dish contains a lot of butter. If you’re worried about the butter content you can use olive oil to brown the meat and the follow the rest of the recipe as is.
DANISH STUFFED CABBAGE
1 medium firm green cabbage
1 1/2 cups soft bread crumbs (without crusts)
3/4 cup milk
2 eggs
Salt and ground black pepper to taste
1/4 teaspoon ground sage
1/2 stick plus 3 tablespoons butter
1 pound ground chuck
2 tablespoons tomato paste
1. Remove loose outer leaves from the cabbage. Cut a deep slice from the stem end of the cabbage (this slice will be used as a lid during cooking). Then, using a knife and spoon, hollow out the cabbage, leaving a wall about the thickness of six-seven leaves. You can save the hollowed out cabbage parts for another use such as cabbage soup or stir-fry, or other.
2. In a bowl combine 1 cup bread crumbs and the milk and soak until soft. Add the eggs, salt, pepper and sage to the soaked crumbs. set aside.
3. In a medium frying pan or skillet, heat 1/2 stick of butter, add the ground meat and cook over medium heat until meat loses its red color. Stir in the tomato paste and cook 2-3 minutes more. Add the soaked crumbs and mix well. Stuff the cabbage shell with the mixture. Depending on the size of the cabbage you may have some meat leftover which you can use for another occasion.
4. Place the sliced lid over the cabbage and meat. Next, place the cabbage, standing up, in a saucepan and surround with boiling water about halfway up from the head. Cover, reduce heat to low, and simmer for about two hours. Check periodically to make sure you have enough water in the pan. You do not want the water to boil off and the pan to burn. Add more water if needed.
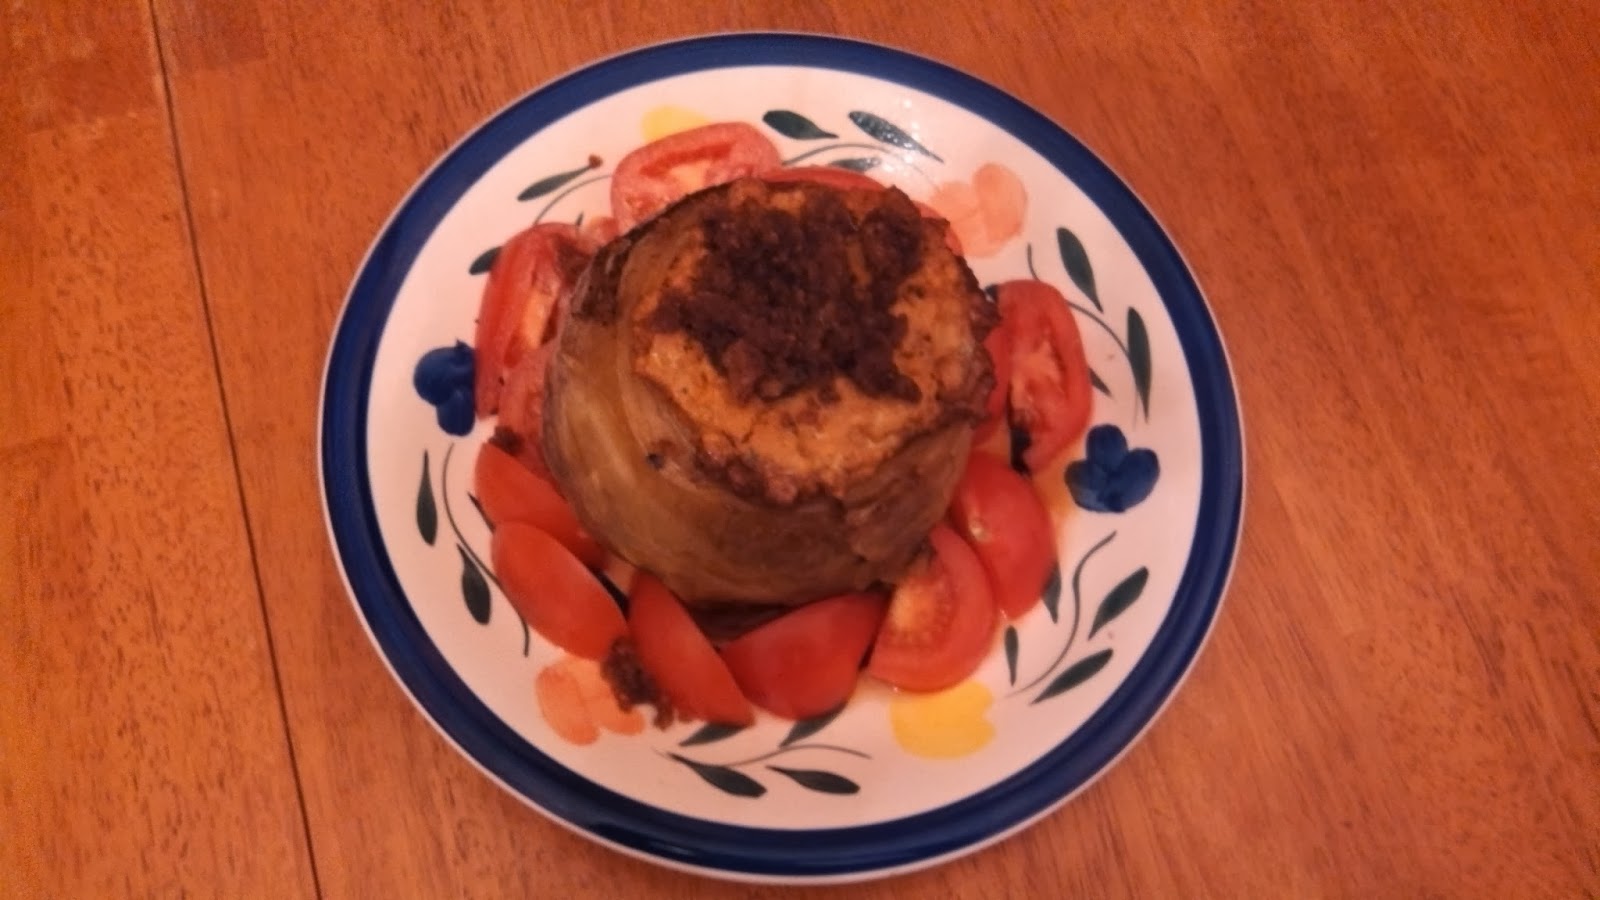
5. Remove the cabbage lid. In the frying pan brown the remaining 1/2 cup bread crumbs in the remaining 3 tablespoons butter, and pour this mix over the top of the cabbage. To serve, cut the cabbage with its stuffing into wedges, and enjoy!
Yield: 4-5 servings.