I know, you’re saying, “Chicken with prunes—what?” Yeah, chicken with prunes. Prunes do not generally come up in American cooking. If at all, it’s in prune juice—which supposedly makes one regular. In Jewish cooking you sometimes have them as a filling for Hamantashen, a popular sweet during the festival of Purim. In the TV series, Star Trek, prune juice was the favorite drink of Lieutenant Worf, the Klingon crew member who considered it to be a “warrior’s drink.”
Prunes, however, are very popular in Middle Eastern cuisine. And it goes back a long way. In the Kitab al Wusla il al Habib, a medieval Arabic cookbook, there is a dish of chicken cooked with prunes. And today, in Morocco, a similar dish, Tagine with Prunes, is very popular.
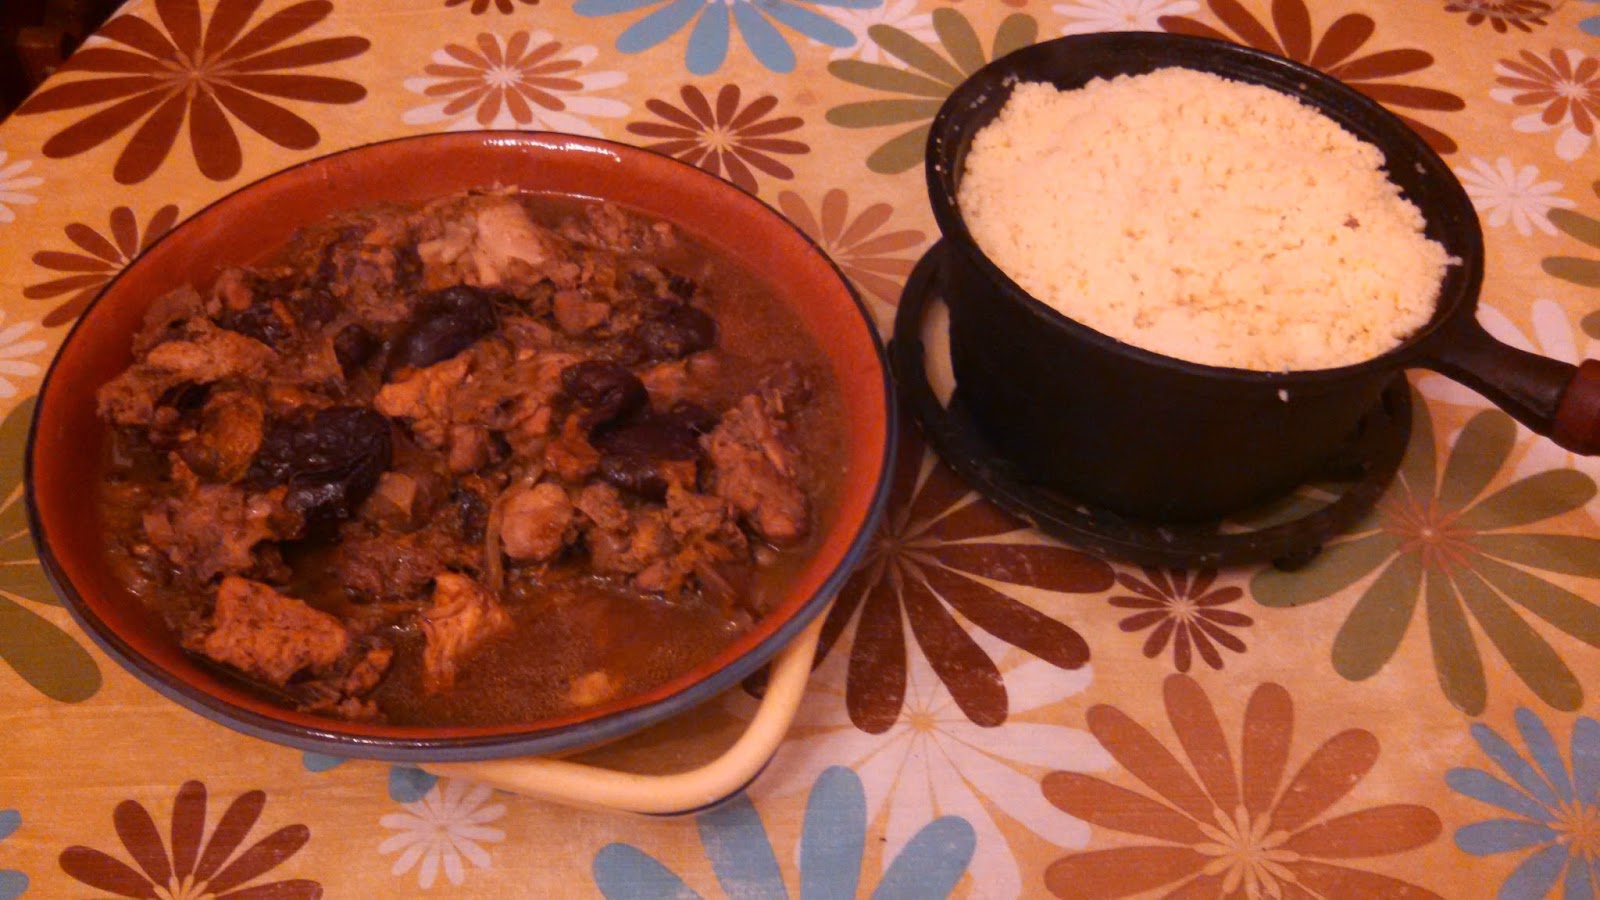
I recently had some prunes on hand and decided to give this combination a try. And it came out very tasty. Scoff all you will. Once you prepare this dish, you won’t be disappointed.
CHICKEN WITH PRUNES
1 3-pound chicken, skinned and cut into serving pieces
1 medium onion, peeled and sliced into rings
1/4 teaspoon powdered saffron
1/4 teaspoon fresh ground ginger
1/2 teaspoon fresh chopped oregano (or 1/4 teaspoon dried)
Salt to taste
1 pound prunes, soaked overnight
1. Rinse chicken pieces under cold running water and pat dry with paper towels.
2. Place chicken and onion in a large pot, heavy kettle or Dutch oven.
3. Sprinkle with saffron, ginger, oregano and salt. Cover chicken with water, bring to a boil. Lower heat and simmer gently, covered, until chicken is tender and the stock is reduced (20-30 minutes).
4. Add prunes and continue cooking with the pan uncovered until the prunes are soft and the sauce is considerably reduced (about 1/2 hour longer).
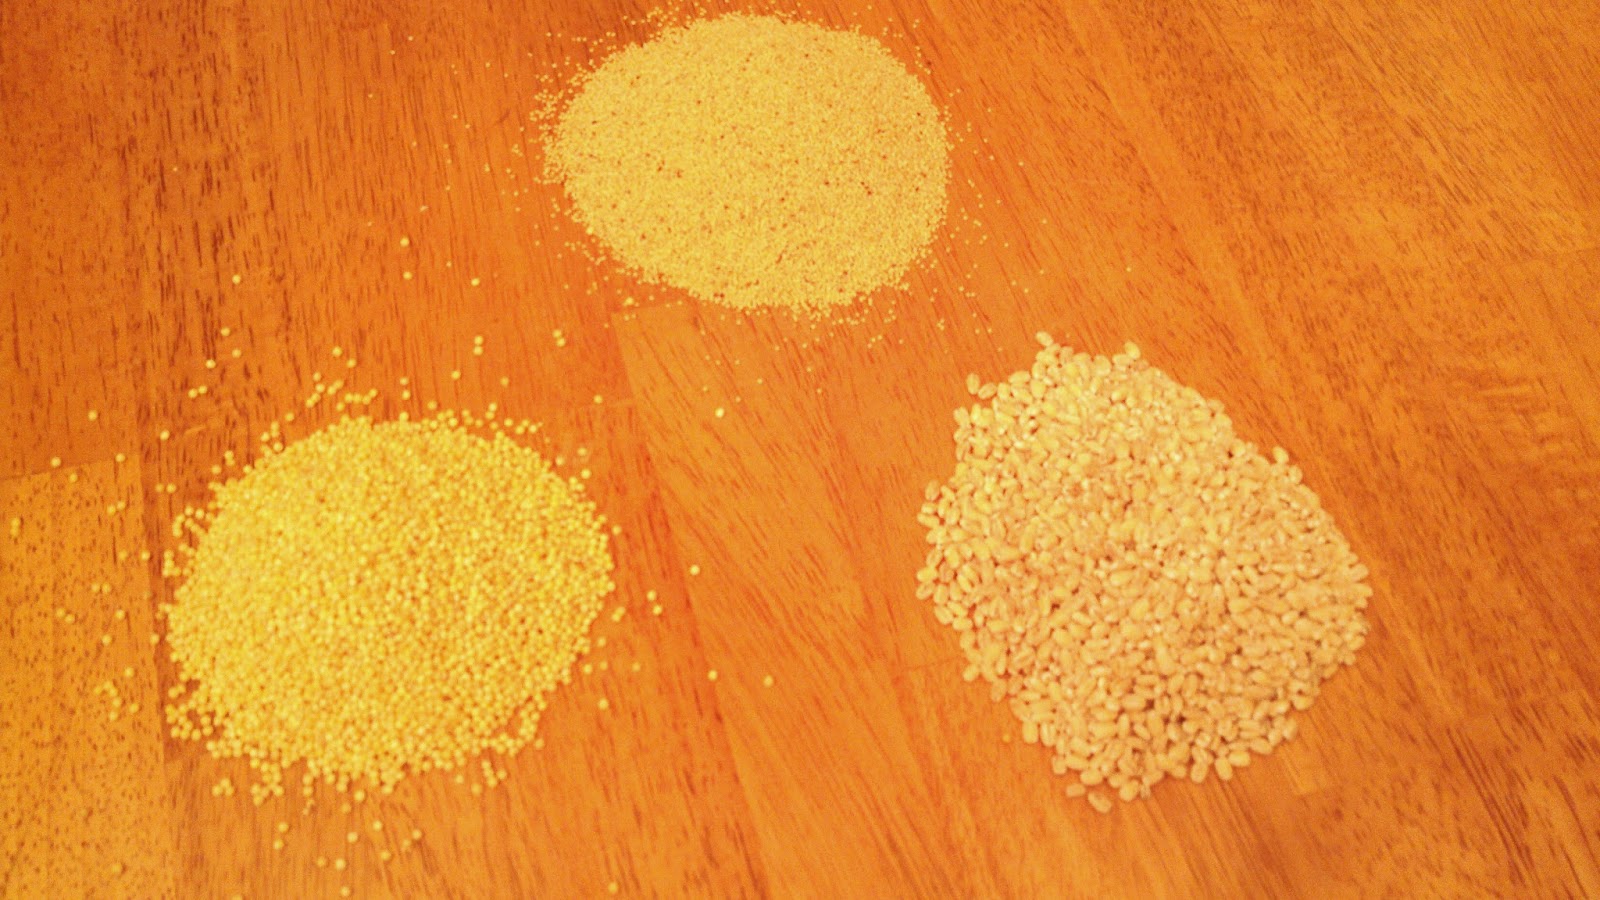
5. Serve the chicken covered with the sauce over steamed rice or couscous.
Yield: 4 servings.